You can spend a weekend choosing the right fabric, only to hang it in a way that makes a generous room feel like a box. Curtains do more architectural work than most people give them credit for: they draw the eye upward, widen a wall, and decide where a window's edges appear to be. Get the rod height, the panel width, and the hem length right, and the same window reads calmer, taller, and better made. Get them wrong, and no amount of styling on the sill will rescue it.
The Rod Sits Just Above the Window Frame
Walk into most rented flats and you will find the same arrangement: a slim rod screwed two or three inches above the window trim, finials ending exactly where the frame ends. It is neat, it is inexpensive, and it quietly shrinks the room.
A low rod caps the wall at the top of the window. Your eye reads that line as the visual ceiling, so an eight-foot wall behaves like a seven-foot one, and the window itself looks smaller than the opening in the brickwork. The glass has not changed. Only the frame around it has.
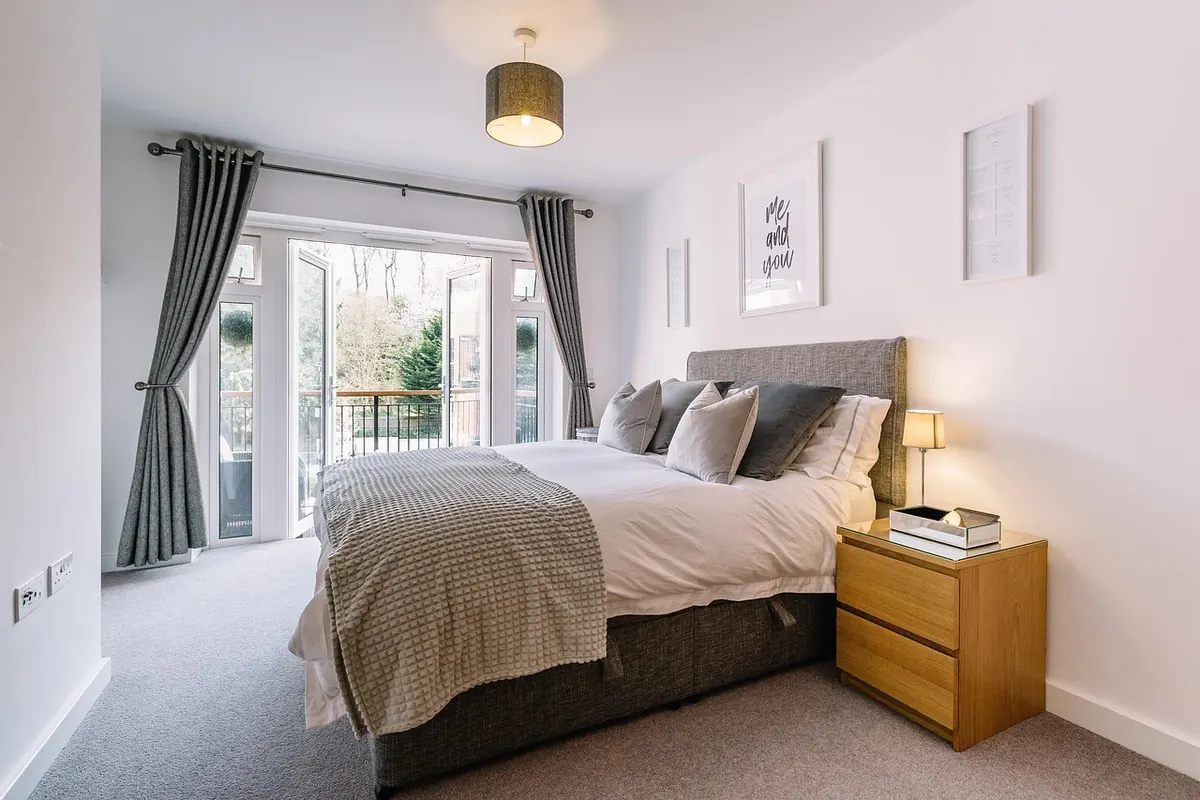
The fix is often the cheapest change you can make in a room: raise the rod. A reliable starting point is four to six inches above the frame, and higher if the gap to the ceiling or crown molding allows. In a room with standard eight-foot ceilings, plenty of windows look best with the rod ten to twelve inches above the glass. Leave two to three inches of clear wall below any crown molding so the fabric does not crowd it.
Raising the rod usually means longer panels, so budget for that before you drill. Check what is behind the plaster as well: if the new position misses the studs, use wall anchors rated for the combined weight of rod and fabric, particularly with heavy or interlined curtains.
The Rod Ends Where the Window Ends
A rod cut to the exact width of the frame forces the curtains to cover glass even when they are open. You end up with panels bunched in the middle of the window, and the frame looks narrower than it actually is.
Extend the rod past the frame on both sides. Eight to twelve inches is the usual sweet spot, and more if you have the wall space. This does two things at once. It makes the window appear wider, because the eye assumes the opening continues behind the fabric. And it gives the panels somewhere to go when you pull them back, so the stack sits on the wall rather than over the glass.
Two practical checks before you commit: make sure the finials will not collide with a door frame, a wardrobe, or a radiator, and confirm the extended rod still lands on something solid at both brackets.
The Panels Are Too Narrow for the Rod
This is the mistake that survives longest, because narrow curtains still technically close. They just look thin. A single flat panel stretched across a wide window reads as a bedsheet, and two panels that barely meet leave a gap in the middle and hang in stiff vertical lines.
Curtains need fabric to spare. As a rule of thumb, the combined width of your panels should be at least one and a half to two times the width of the rod. Pleated headings want closer to two or two and a half times; eyelet and tab-top styles can work nearer to one and a half.
If your panels are already too narrow
- Buy a second pair and hang four panels instead of two, splitting them evenly across the rod.
- Move the narrow pair to a smaller window elsewhere in the house and start again in this room.
- Add a coordinating panel at each end for fullness, which also makes the stack look deliberate rather than skimped.
When in doubt, size up. Extra width is forgiving. Too little width never is.
The Hem Stops in No-Man's-Land
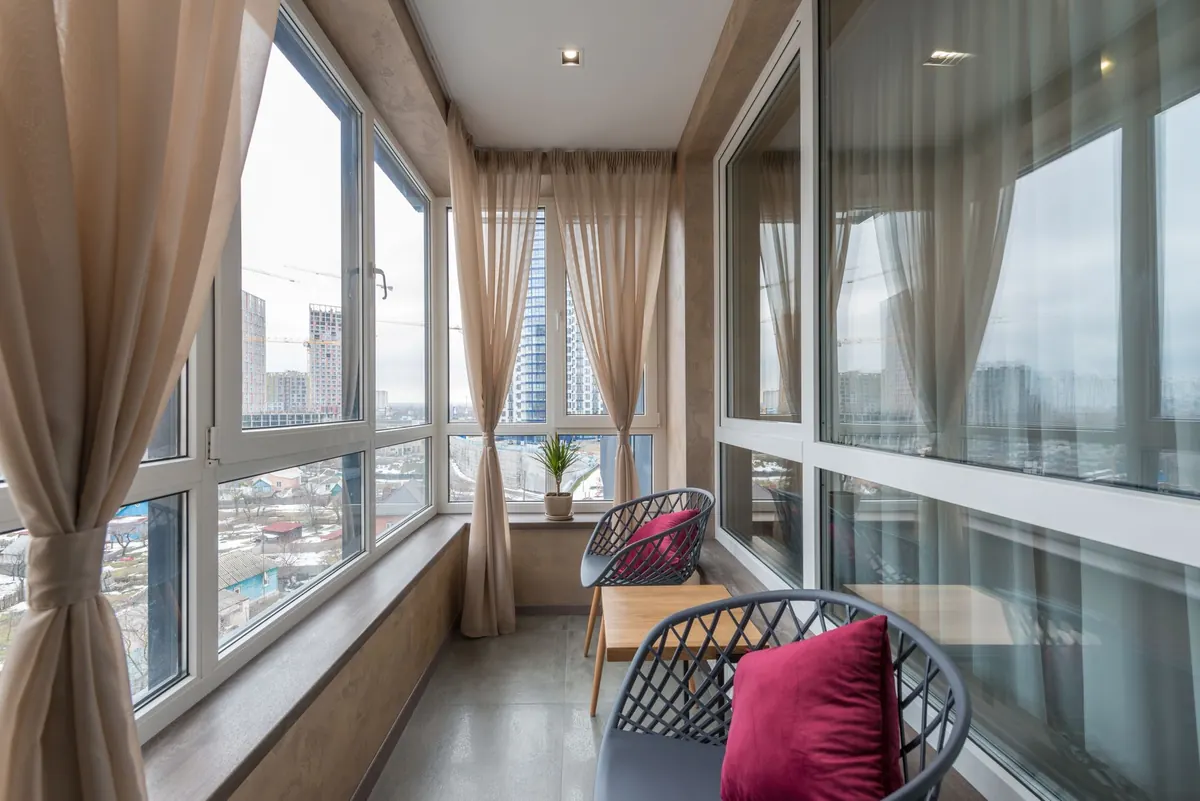
A curtain that ends halfway between the sill and the floor does not look casual. It looks like a measuring error, because that is usually what it is. Curtains read as intentional when they finish at a clear point: at the sill, a few inches above the floor, or touching it.
- Sill length — ends at or just below the sill. Sensible for kitchens, bathrooms, and anywhere a radiator or bench sits under the window.
- Below-sill — four to six inches past the sill. Friendlier for a living room, but it still draws a horizontal line across the wall.
- Floor length — within about half an inch of the floor, or with a slight break where the fabric just kisses the ground. This is the one that adds height, because an unbroken vertical line pulls the eye upward.
Measure from the rod, not from the top of the window, and measure at three points across the rod — left, centre, right — because floors and ceilings are rarely level. Use the shortest measurement when buying ready-made lengths and accept the small gap at one end, or have panels made to your drop.
The Hardware Fights the Fabric
A thin rod that bows under heavy fabric undoes a good measurement in a week. So does a bracket set so short that the curtains press against the glass, the sill, or the back of a radiator, creasing the fabric and blocking the light you were trying to keep.
Match the rod to the weight of the cloth: heavier, interlined panels need a sturdier diameter and a centre bracket on long spans. Choose brackets that hold the rod far enough from the wall for the fabric to clear the sill and any radiator, and fit a return so the leading edges sit tidily against the wall rather than flapping loose.
Also watch the small habits. Tiebacks cinched tight enough to strangle the panels make a window look narrow and busy. A deep valance or pelmet chops the top off the window in exactly the way a low rod does. If you want a layered look, keep the top treatment shallow and hang it from the raised rod rather than adding a second, lower one.
A Measuring Routine That Prevents All Five
- Choose the rod line first: four to six inches above the frame, or higher where the ceiling allows.
- Mark the extension: eight to twelve inches past the frame on each side.
- Measure the full span from bracket to bracket, then add the finials.
- Multiply that span by 1.5 to 2 to get your combined panel width.
- Measure the drop from the rod's centre line to your chosen endpoint at three points across the window.
- Walk the room: doors, wardrobes, radiators, furniture, switches, and anything the fabric might catch on.
Write the numbers down before you shop. Most curtain mistakes are decided in the shop, not at the drill.
Start With the Rod, Not the Fabric
It is easy to fall for a fabric and then try to make the room fit it. Reverse the order. Set the rod high and wide, note the span and the drop, and only then choose panels that fill that space properly. The change is rarely dramatic to describe — a few inches up, a few inches out, a hem that lands where it should — but it is the difference between a window that looks dressed and a room that suddenly feels bigger than it did last week.
Photo: Pexels / Pixabay